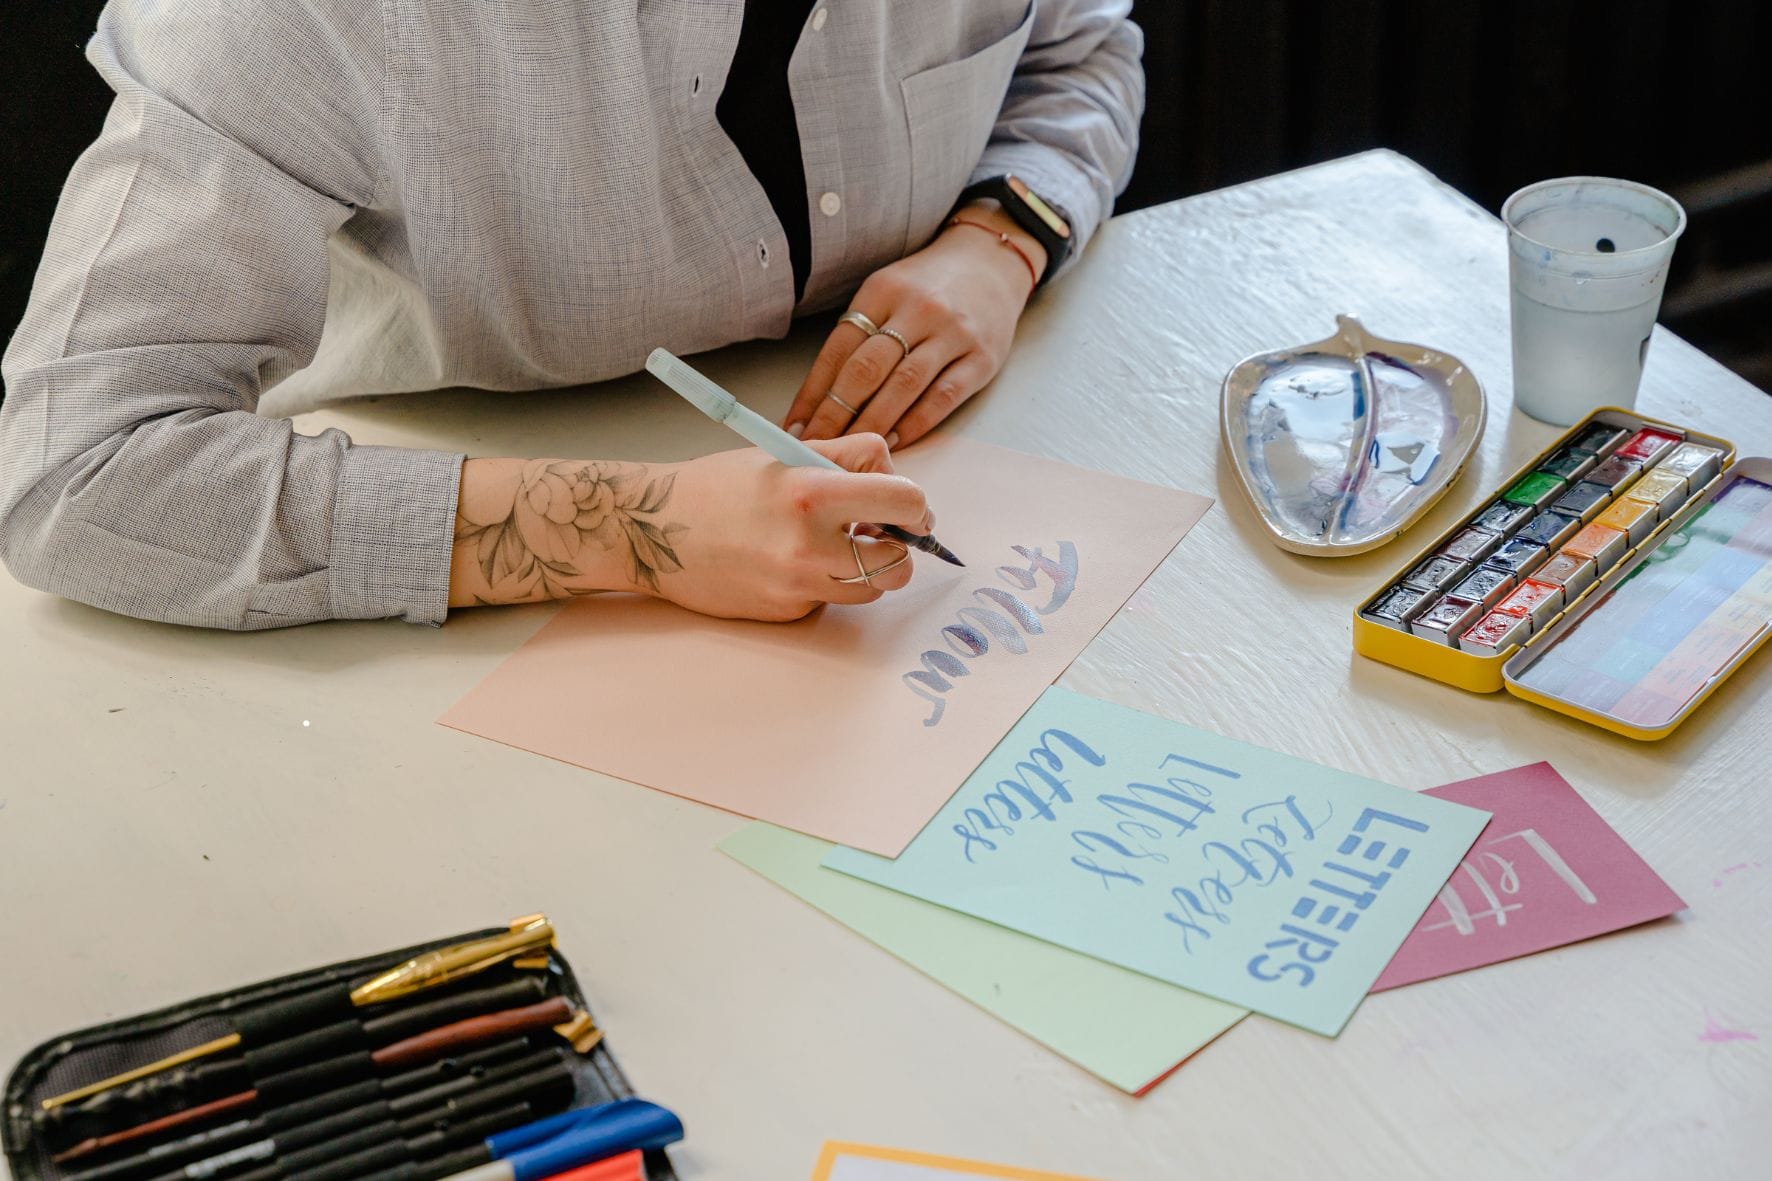
Posters are a powerful way to grab attention and share information quickly. Whether you're promoting an event, raising awareness for a cause, or advertising a product or service, a well-designed poster can make all the difference. With the right mix of visuals, layout, and messaging, customised posters don’t just inform, they inspire action.
In today’s digital age, knowing how to make a poster that stands out is a useful skill for students, professionals, marketers, and creatives alike. But it’s not just about slapping on images and text; understanding how to design a poster effectively involves thought, creativity, and a few key principles.
In this guide, you’ll learn everything from how to create a poster from scratch to how to make a good poster that communicates your message clearly.
Step 1: Define the Purpose of Your Poster
Before diving into design, it’s essential to understand why you’re making the poster. This helps guide every creative decision that follows.
Is it promotional, educational, decorative, or informational?
Identifying the purpose of your poster is the first and most important step in the design process. A promotional poster aims to grab attention and drive action, like making a purchase or attending an event. Educational posters are content-heavy and should be designed for clarity and comprehension.
Decorative posters prioritise aesthetics and may focus more on visuals than text. Informational posters need to balance readability with detail, making it easy for viewers to absorb key data quickly. Knowing the intent will help you decide how to create a poster that connects with your audience.
Define Your Audience
Understanding your audience helps shape everything from tone to layout. Are they students, professionals, shoppers, or event-goers? Their preferences, lifestyle, and familiarity with your subject matter should influence your imagery and messaging.
Younger audiences may respond well to bold visuals and playful fonts, while older audiences may prefer clarity and simplicity. Tailoring the content to their needs makes your poster more engaging and effective.
Where will it be displayed?
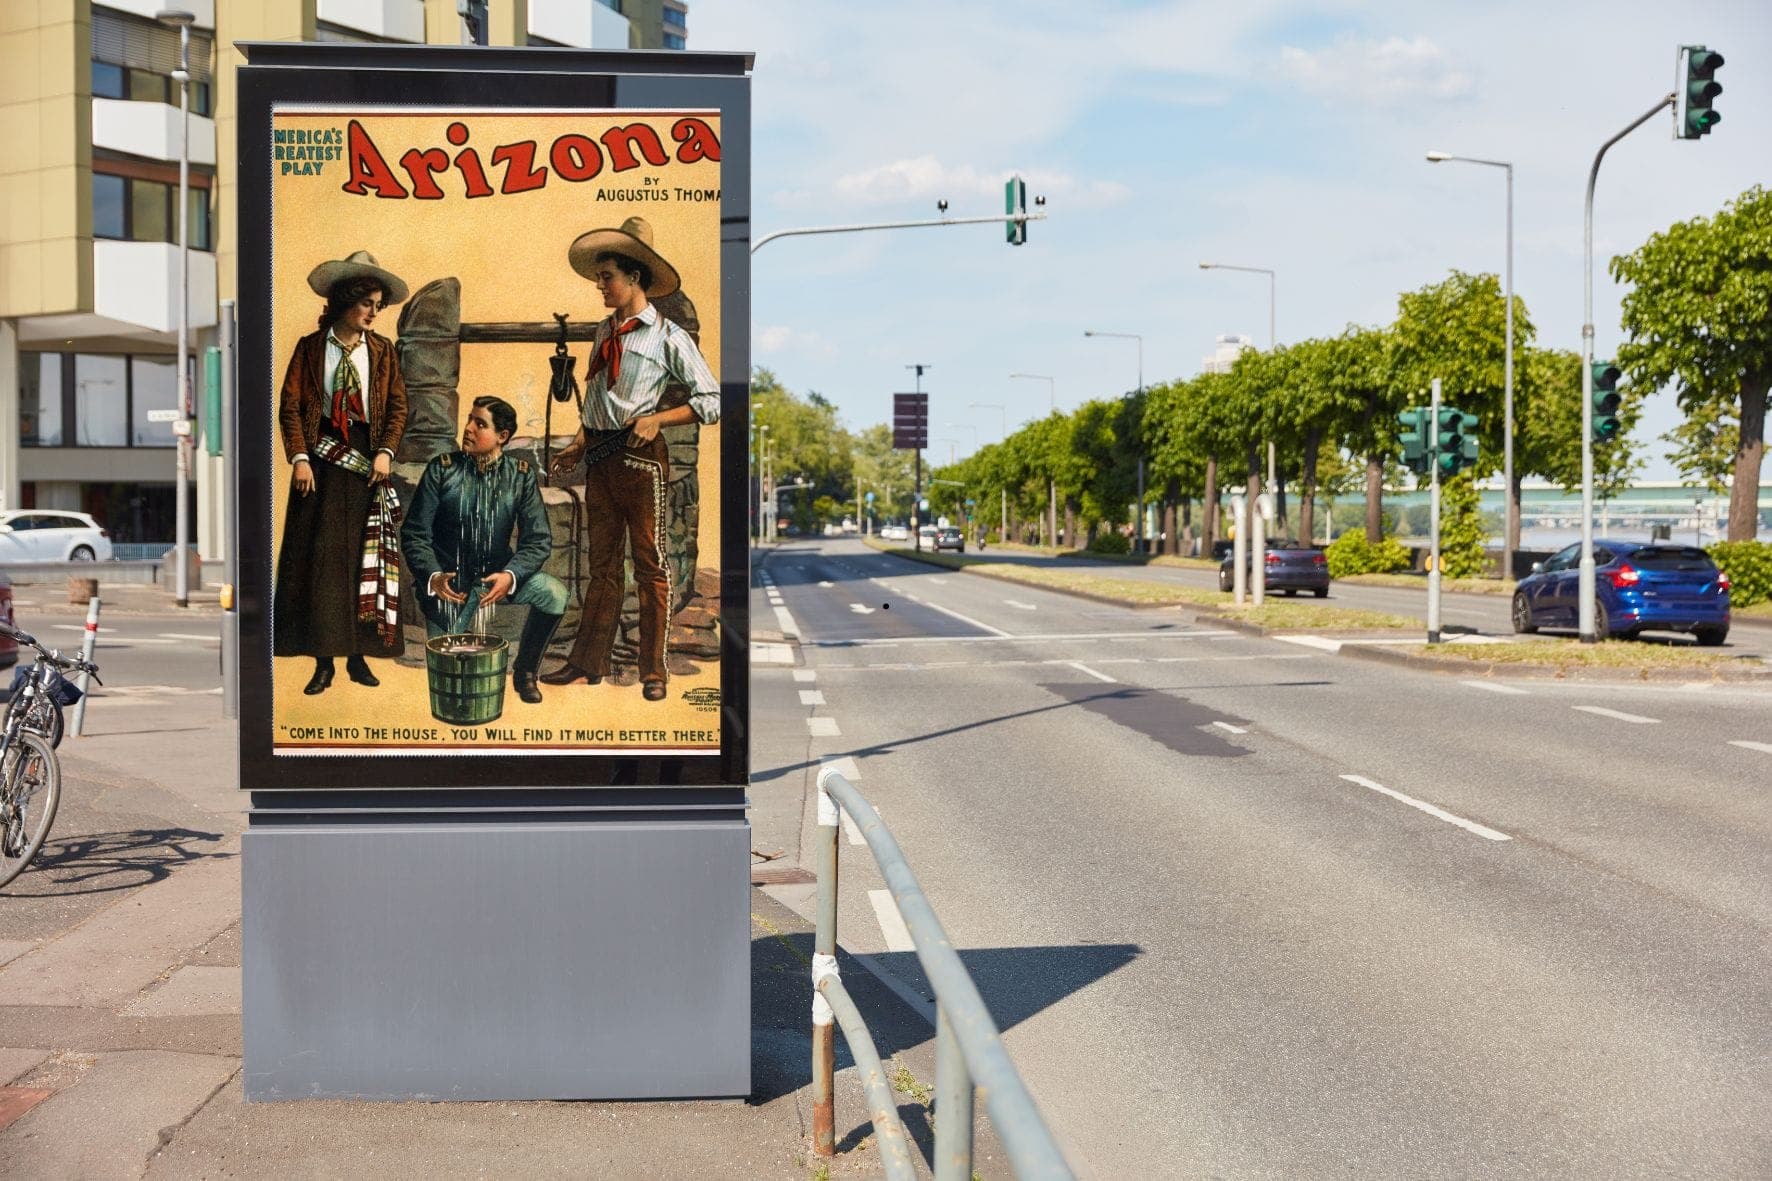
The display location plays a big role in how the poster should be designed. Outdoor posters must use large fonts and high-contrast visuals to stand out from a distance. Indoor posters can afford more detail since viewers are typically closer and have more time to read.
Posters in high-traffic areas need to communicate their message within seconds. Environmental factors like lighting, weather, and foot traffic also influence the materials and finishes you should choose.
Before You Design Your Poster…
Laying the groundwork ensures your poster is not only eye-catching but also meaningful and effective in its communication.
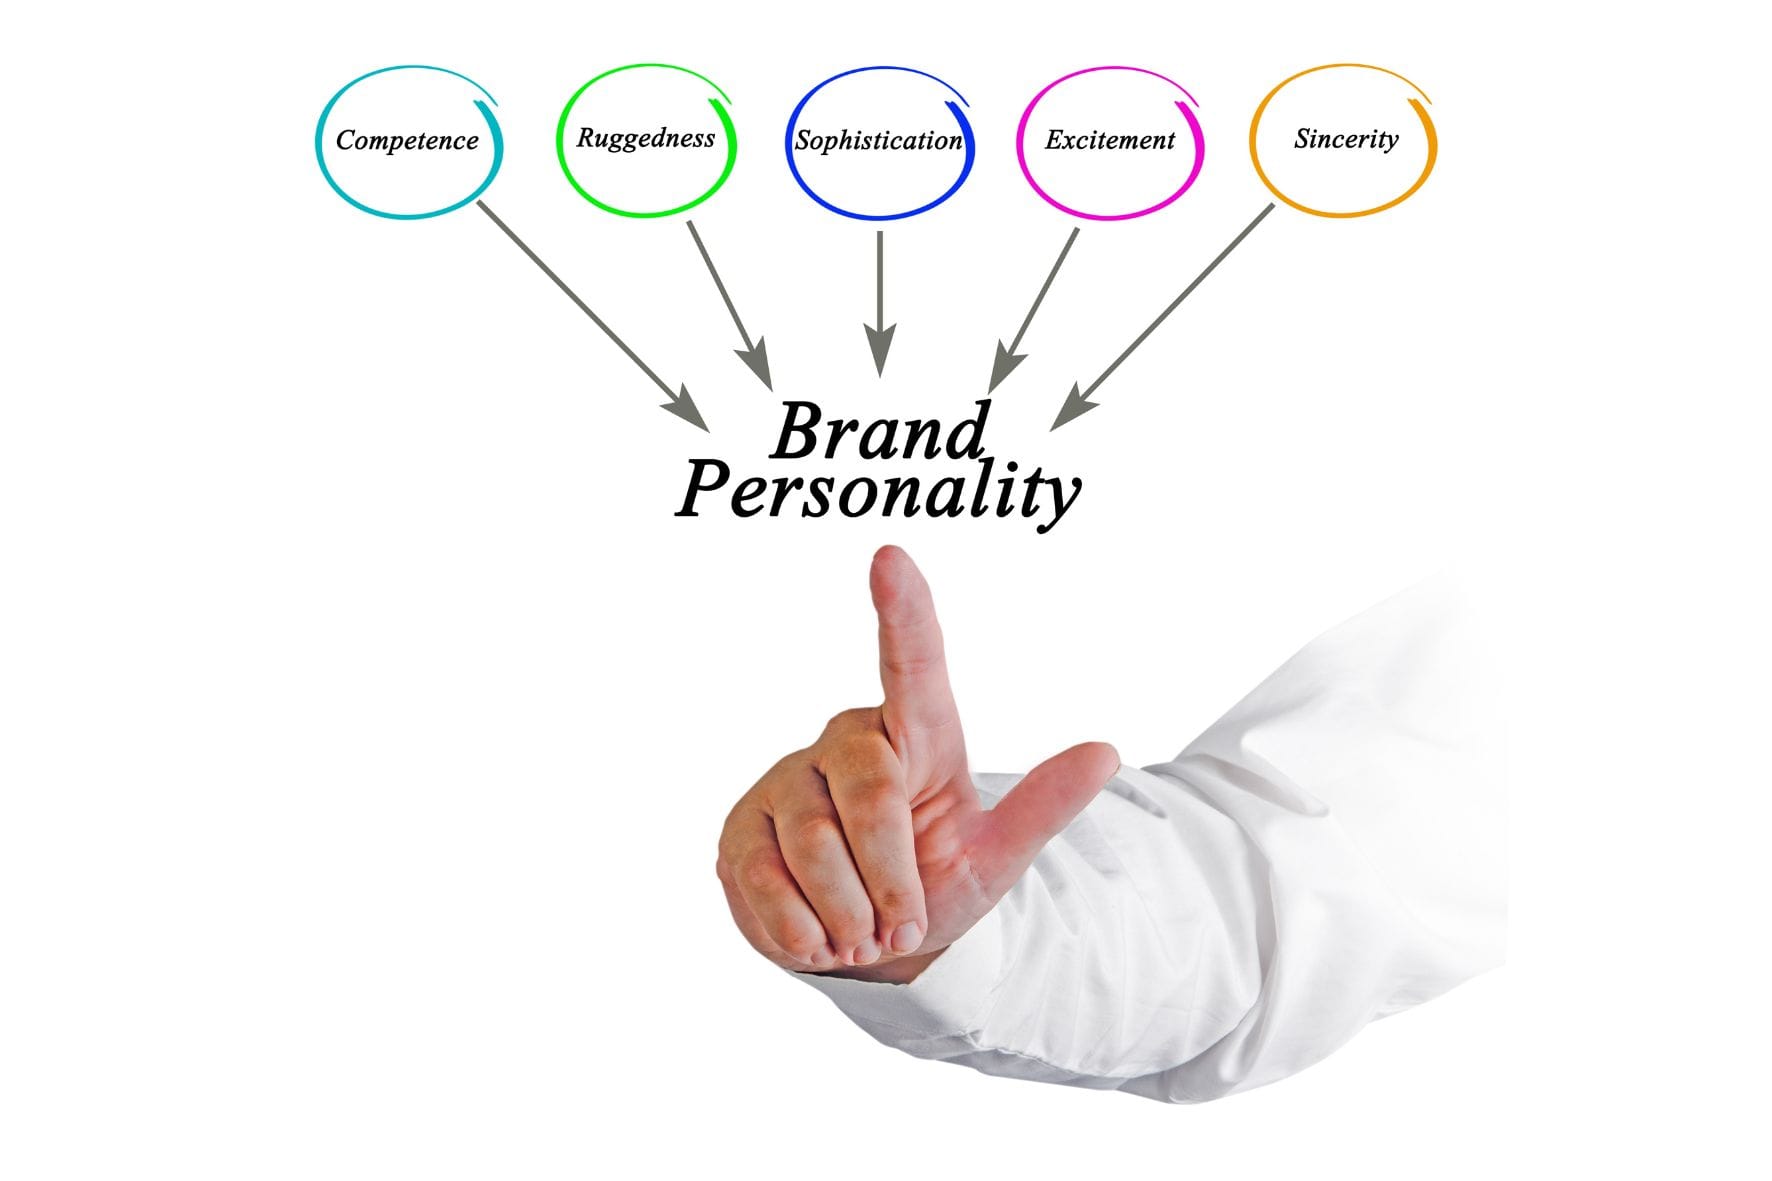
Define Your Brand Personality: Make sure your poster reflects your brand’s tone. Whether it’s fun and quirky, formal and professional, or bold and edgy.
Set a Budget: Decide how much you want to spend on design, printing, and distribution. This will influence your paper quality, size, and whether you go for a DIY or professional route.
Settle on the Message Being Portrayed on the Poster: Your message should be clear, concise, and compelling. Stick to one main idea or offer so your audience knows exactly what to take away from your poster.
Step 2: Choose the Right Poster Size and Orientation
Selecting the right size and orientation is a crucial part of how to design a poster that truly works. It should suit your content, display location, and overall impact goals.
Common poster sizes
Poster sizes vary depending on how and where they’ll be displayed.
Smaller sizes like A4 and A3 are ideal for indoor use, noticeboards, or when space is limited.
Medium sizes like A2 and 11x17 inches are great for events, promotions, and storefronts.
Large formats like A1 and 24x36 inches are best for high-traffic areas where visibility from a distance is key.
Always match the size to the amount of content and the impact you want your poster to make.
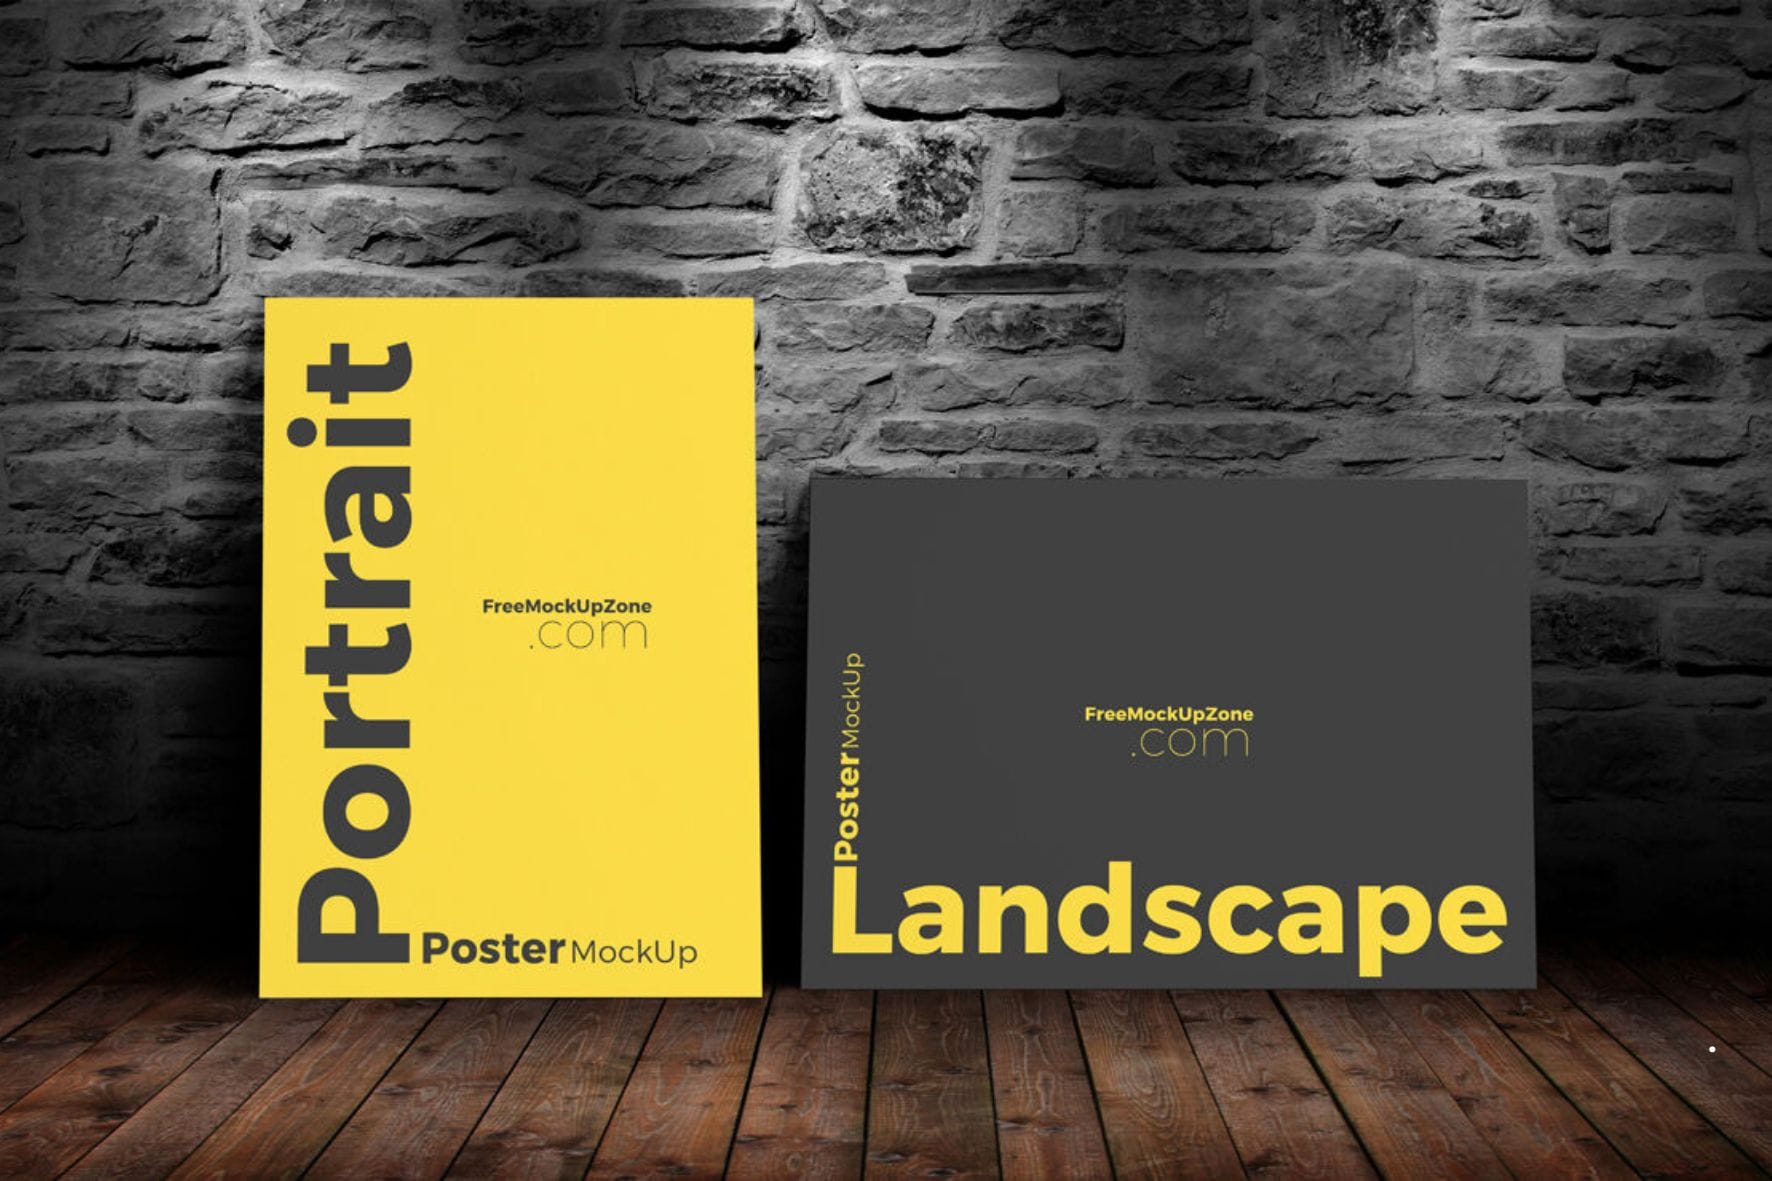
Landscape vs Portrait orientation
Portrait orientation is typically more traditional and works well for most poster types. However, landscape can offer a more modern, open layout, especially when the visuals are horizontal. The choice depends on your design, images, and where the poster will be placed.
Considerations based on Space, Content, and Visibility
Think about where the poster will hang, on a wall, bulletin board, window, or outdoors. Consider how far away it needs to be seen from, how much content it has, and how the space will interact with its layout.
Step 3: Decide on the Poster Layout
A clear and thoughtful layout is what transforms a basic design into a poster that gets noticed. It helps communicate your message effectively and keeps the viewer engaged from top to bottom.
Use of grids and white space
Grids provide structure, while white space gives your content room to breathe. Together, they prevent your poster from looking cluttered, making it easier to read and visually appealing. This is key to mastering how to make a good poster.
Organising content into sections (headline, body, CTA)
Start with a strong headline; this is what draws people in. Follow it with your main message and finish with a clear call to action (CTA). Arrange your content from most to least important to guide the reader’s eye naturally across the poster.
Best practices for balance, symmetry, and alignment
A well-balanced layout not only looks visually pleasing but also helps the viewer process information more easily. Whether your design is clean and minimal or bold and dynamic, maintaining structure is key to how to make a poster that works effectively.
Use a Grid System: Using a grid helps structure your layout evenly, allowing elements like text and images to align properly. It maintains visual consistency across the design and gives your poster a professional finish. Grids work well for both centred and asymmetrical compositions.
Maintain Visual Balance: Distribute visual weight carefully so one side of the poster doesn’t overpower the other. Pair larger images or bold headlines with lighter elements such as smaller text or white space. Use contrast in colours and sizes to keep things harmonious.
Choose Between Symmetrical and Asymmetrical Layouts: Symmetrical layouts offer a formal and clean appearance, ideal for professional or corporate messaging. Asymmetrical designs feel more modern and dynamic, often better for creative or youth-oriented content. Choose a layout style that suits your brand tone and purpose.
Align Elements Purposefully: Stick to one type of alignment, left, right, or centred, for a consistent flow. Avoid mixing alignments unless it serves a clear stylistic purpose. Proper alignment helps guide the viewer’s eye naturally through your content without confusion.
Group Related Elements Together: Keep connected content, like headlines, descriptions, and CTAs, close together. This improves readability and makes it easier for viewers to absorb the message. It also follows the proximity principle, a basic rule in effective visual design.
Use Margins and Padding Consistently: Leave enough space around the edges and between content blocks to avoid a cramped look. Consistent margins and padding give your poster breathing room and help the design appear clean and balanced.
Check for Vertical and Horizontal Alignment: All elements, text, images, and icons should line up correctly along both vertical and horizontal axes. Use design tools with guides or snapping features to ensure neatness. Poor alignment can make even the best design feel sloppy.
Use Repetition to Reinforce Structure: Repeating elements like font styles, colours, or shapes creates visual rhythm and consistency. It helps unify your poster and reinforces the hierarchy of information. Repetition also supports branding and strengthens overall design cohesion.
Typography and colour choices are just as important as the visuals. They affect how your message is read, felt, and remembered. If you want to know how to make a good poster, choosing the right fonts and colour combinations is a great place to start.
Stick to 2–3 Fonts for Visual Harmony
Limiting your poster to two or three fonts keeps the design clean and professional. Mixing too many fonts can look cluttered and distract from your message.
Use a maximum of two or three font families to maintain a clean, cohesive look
Pair a bold headline font with a clean, readable body font
Use font pairings that complement each other (e.g., serif + sans-serif)
Keep font styles consistent across the poster series for brand identity
Establish Font Size Hierarchy
Size helps the viewer know what to read first. A clear hierarchy ensures your message flows in the right order and stands out from afar.
Title: 72 pt or more for immediate impact: A large, bold headline draws the viewer in and tells them what the poster is about right away.
Subtitle: 36–48 pt for supporting information: Subheadings provide context or highlight key points and should be clearly smaller than the title but still prominent.
Body Text: 24–36 pt for clarity and easy scanning: The main content should be easy to read without straining the eyes, especially from a few feet away.
Create visual contrast between different text levels: Use size, weight, or colour to create clear distinctions between headings and body text so your hierarchy is visually obvious.
Use consistent spacing and line height to improve legibility: Even spacing between lines and sections makes the text easier to scan and creates a neater overall design.
Ensure Readability from a Distance
Posters are often read from a distance, so your text must be legible at a glance. This is essential when learning how to create a poster that works in real-world settings.
Test poster visibility at different distances (6 ft, 10 ft, etc.)
Avoid decorative or script fonts for large blocks of text
Use high contrast between text and background (light on dark or vice versa)
Bold important details like dates, locations, or CTAs
Maintain Brand Consistency in Typography
Typography should reflect your brand’s identity and tone. Consistency builds trust and recognition, especially across campaigns.
Use brand-approved fonts wherever possible
Stick to the defined brand colour palettes for font colour
Avoid using too many font weights or styles, keep it clean and intentional
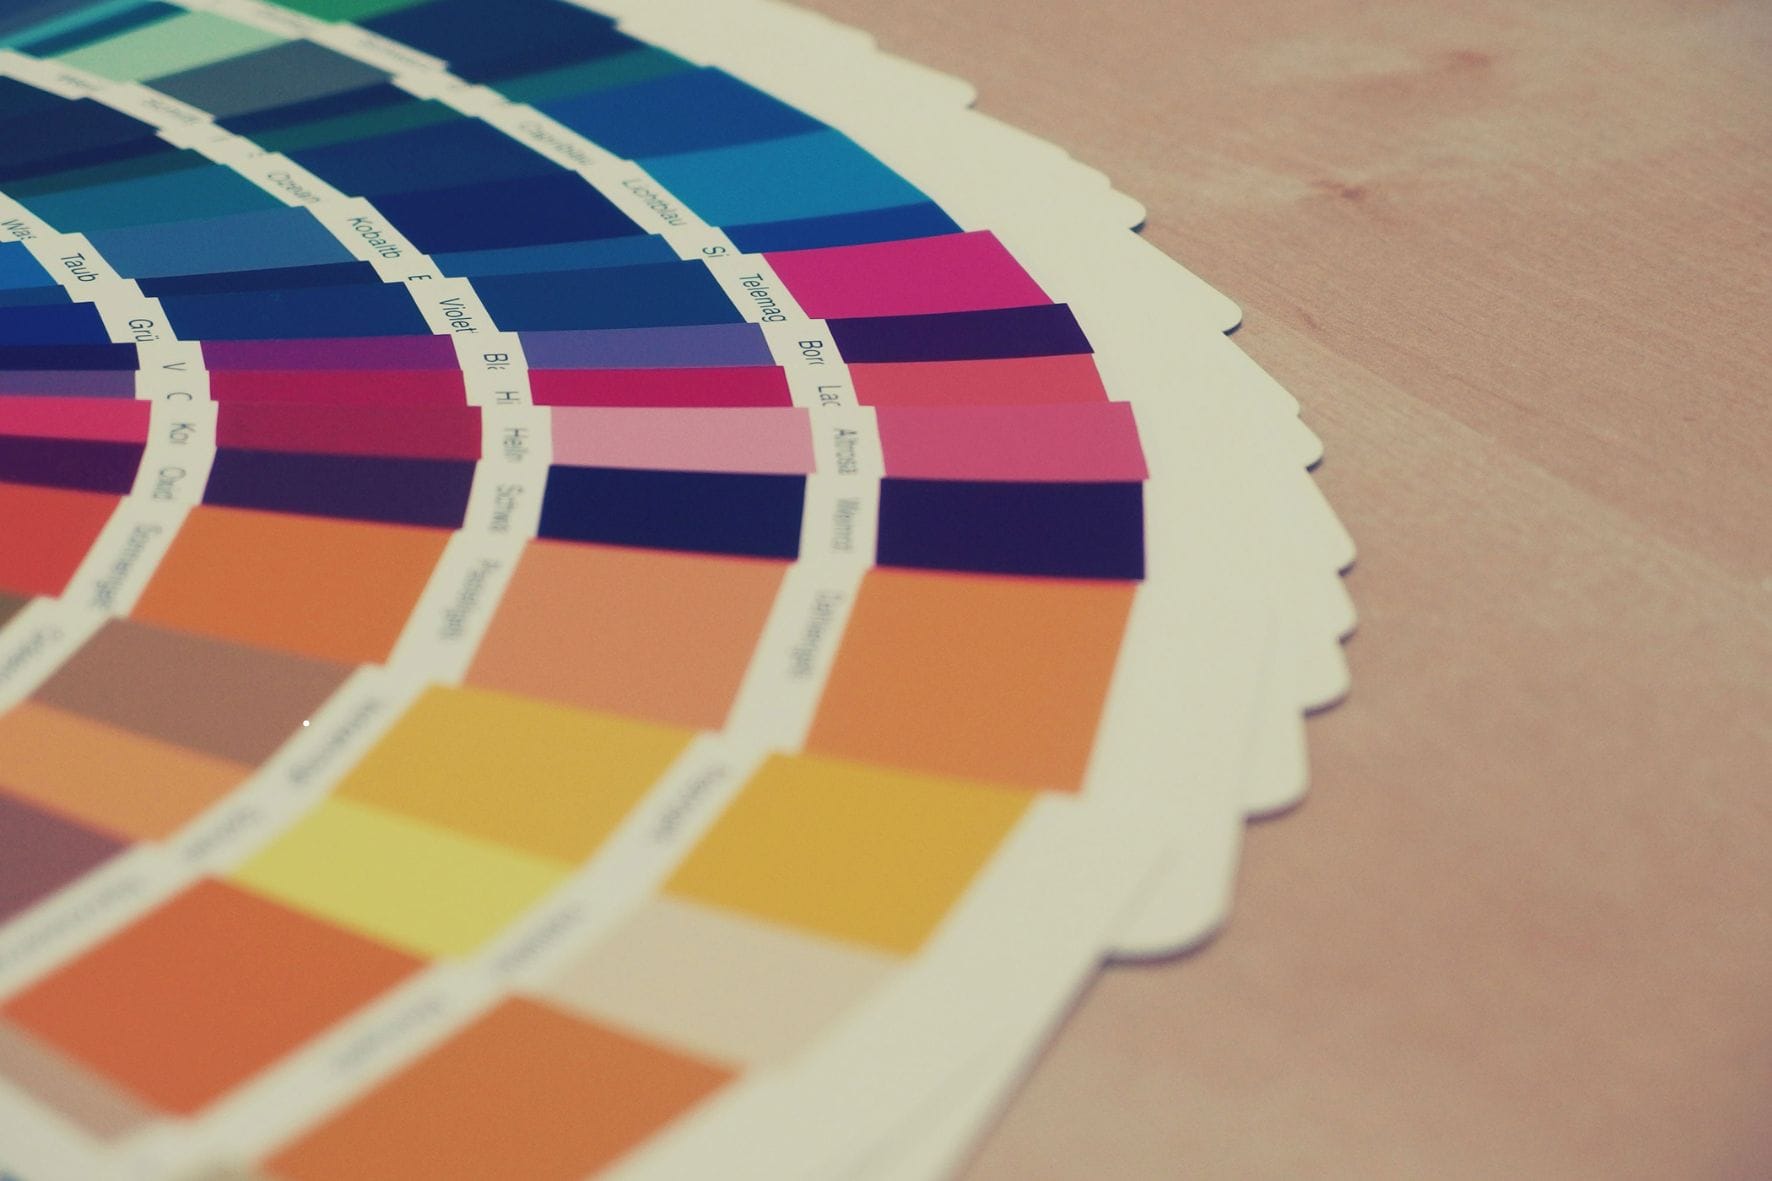
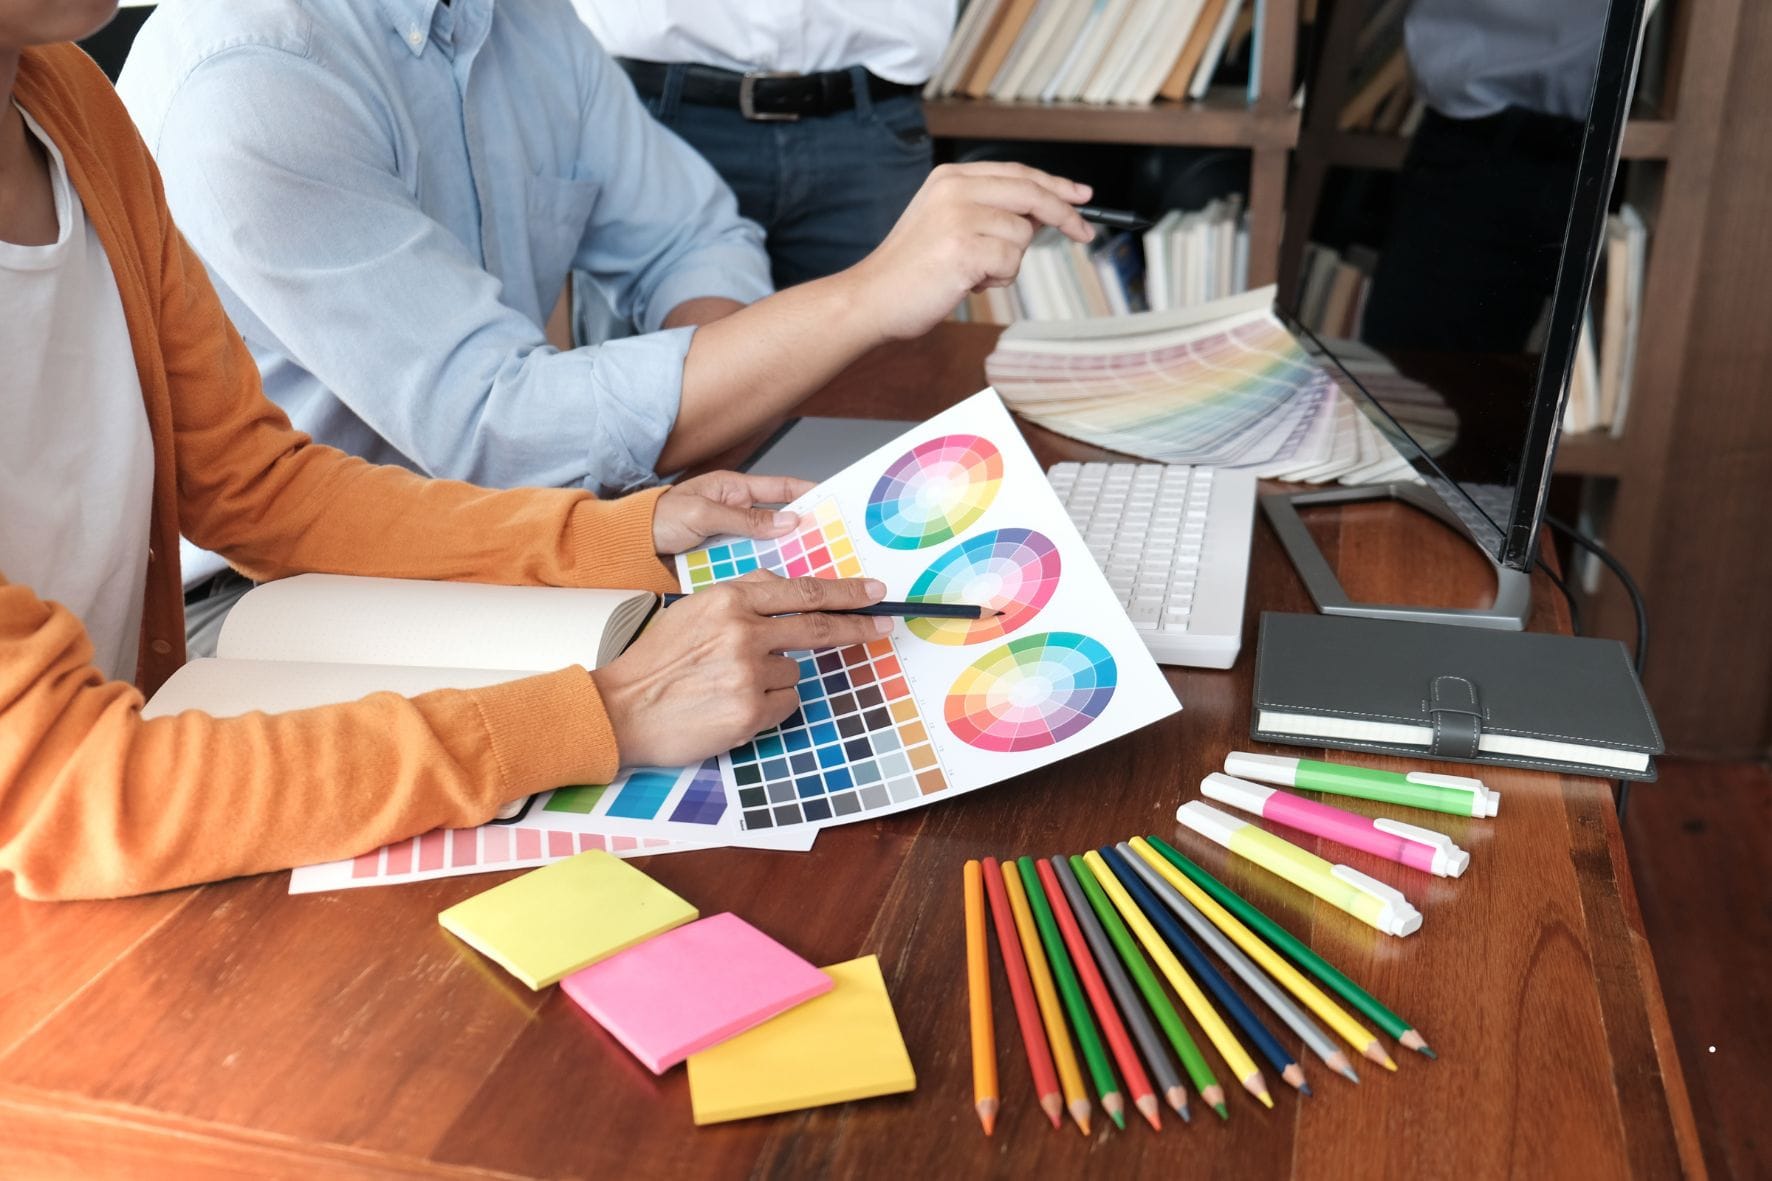
Select a Colour Scheme
Colour sets the tone and mood of your poster. It draws attention, conveys emotion, and helps guide the viewer’s eye.
Use your brand colours if applicable: Brand colours reinforce recognition and make your poster feel connected to your larger visual identity.
Contrast for readability: Choose colours that stand out, such as dark text on a light background, to make your content easy to read.
Colour psychology and mood setting: Different colours evoke different feelings: blue for trust, red for urgency, green for calm. Pick colours that match your poster’s purpose.
Step 5: Add Images, Icons, and Graphics
Visuals are a major part of designing a poster that captures attention quickly. Using the right images, illustrations, or icons can elevate your message and make it more memorable.
Use Vectors or High-Resolution Photos
Always use high-resolution visuals, preferably 300 DPI for print, to ensure your poster looks crisp and professional. Pixelated or blurry images can ruin an otherwise well-designed poster and leave a poor impression. Vectors are ideal for icons and illustrations as they scale without losing quality, making them perfect for both large and small formats.
Consistency with Brand/Message
Every image or graphic you use should align with your brand’s personality and the message you're trying to convey. If your poster is playful, use fun and colourful visuals; if it’s formal, go for sleek and minimal. Consistency in tone helps build trust and ensures your design feels cohesive, making it easier for viewers to connect with your content.
Tips for using icons and illustrations effectively
Icons and illustrations can guide the viewer’s eye, break up text, and highlight key information, if used correctly.
1. Use icons to support:
Icons should add clarity, not confusion. Use them to illustrate concepts or actions (like a calendar icon for a date) alongside simple labels.
2. Stick to a consistent illustration style
Mixing flat, 3D, hand-drawn, and line icons can look messy. Choose one visual style and stick with it throughout the poster.
3. Don’t overcrowd with too many visuals
Too many images or icons can distract from your message. Leave breathing space and let the key visuals speak clearly.
4. Where to find royalty-free images?
You can source high-quality, free-to-use visuals from platforms like Unsplash, Pexels, and Freepik. Always check licensing and credit requirements before use.
Step 6: Include Essential Content
No matter how striking your design is, a poster must deliver clear and complete information. Including the right content ensures your message is understood and your audience knows what to do next.
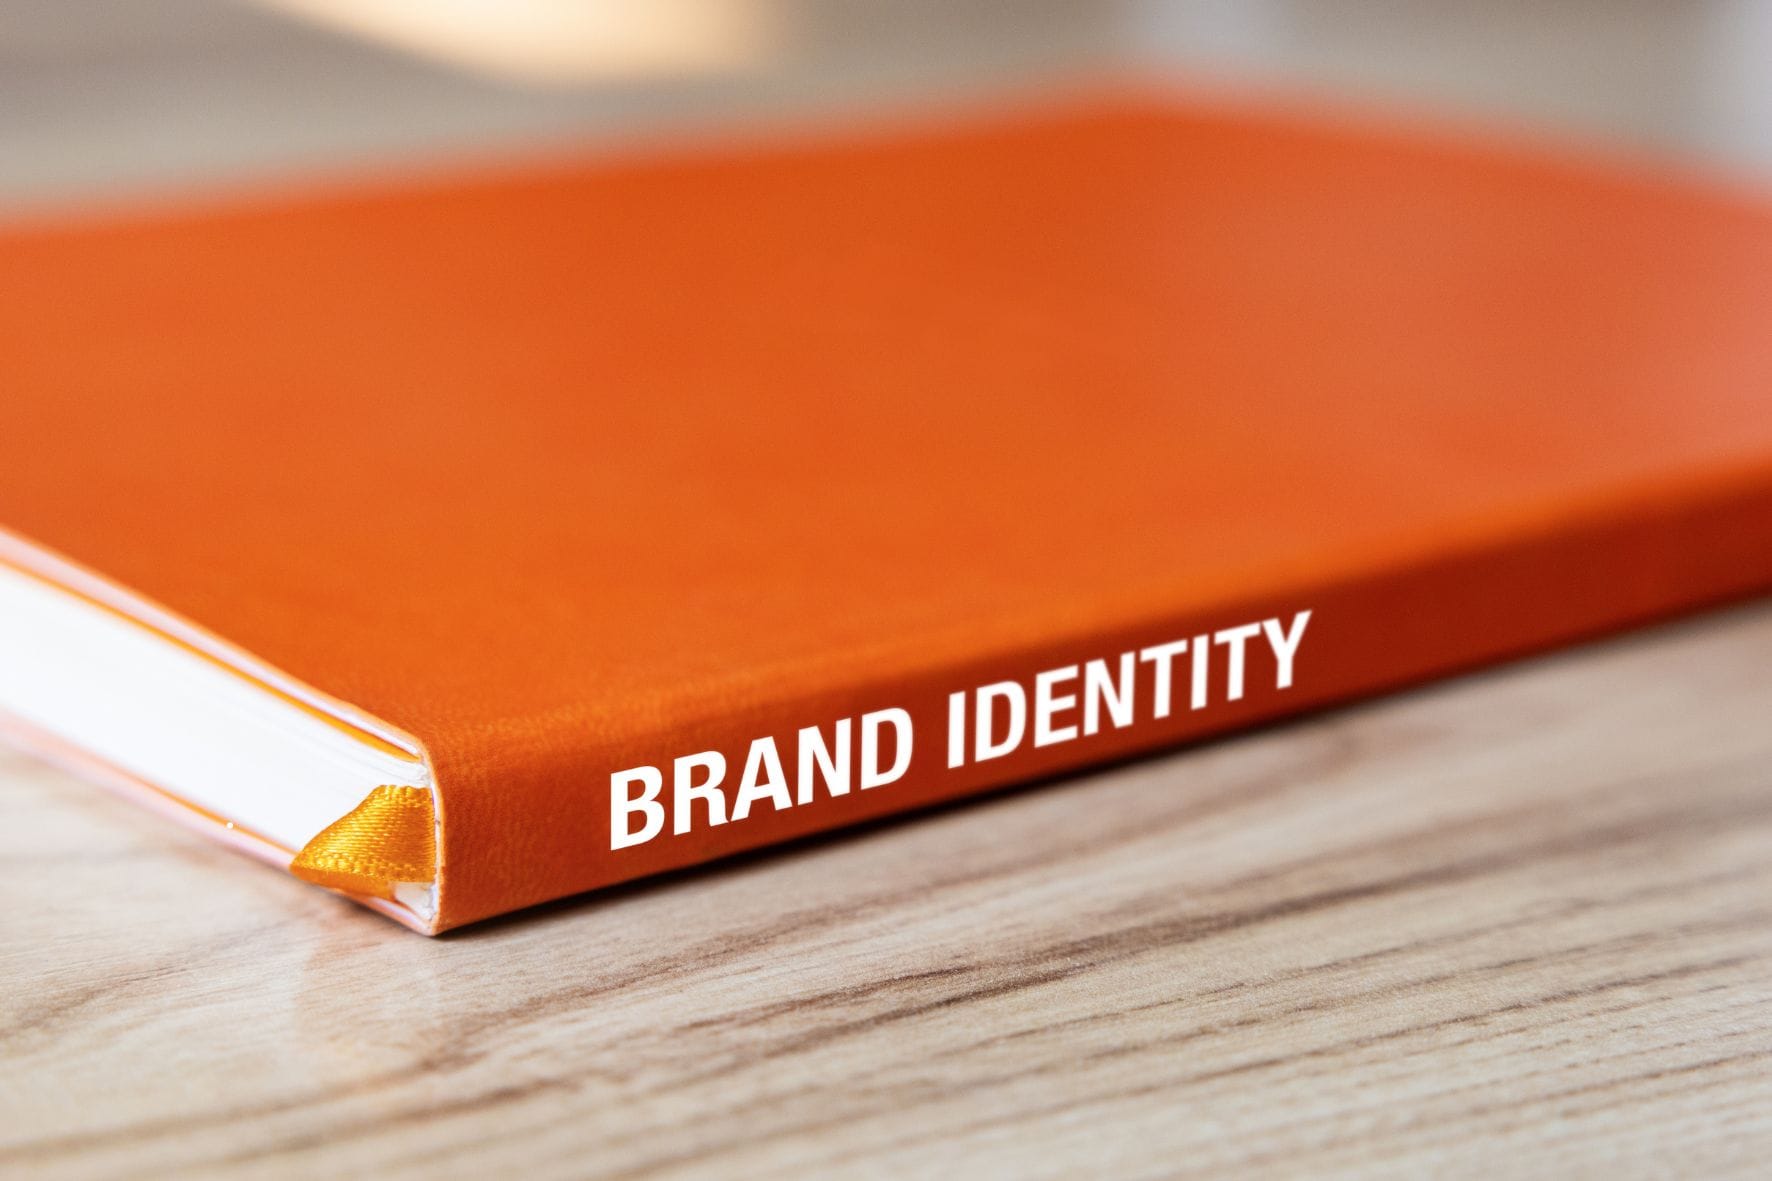
Logo or brand identity
Your logo is a key part of how people recognise your brand. Place it prominently, usually at the top or bottom, so viewers can instantly identify who's behind the poster.
Key message or headline
The headline is often the first thing people read, so make it powerful and direct. It should summarise your poster’s purpose in just a few words, grabbing attention and prompting further reading.
Supporting text or details
This is where you provide context, what, when, where, and why. Keep it concise and relevant, using bullet points or short lines if needed to make the information easy to scan.
Call-to-action (CTA)
A poster without a CTA leaves the audience wondering what to do next. Whether you're telling them to attend an event or visit a website, make your CTA clear and compelling.
1. Include a Strong Call to Action (CTA)
Tell the audience exactly what you want them to do after reading the poster. A strong CTA helps convert attention into action.
2. Make it visible and clear
Use bold fonts, bright colours, or placement near the bottom or centre to make the CTA stand out from other content.
3. Examples: “Call Now”, “Visit Today”, “Scan the QR”
Actionable phrases make your message more persuasive. Keep it short, direct, and easy to follow.
Contact info, QR code, or website
Make it easy for your audience to reach you or learn more. Add your phone number, email, website, or a scannable QR code, whatever suits your purpose and platform best.
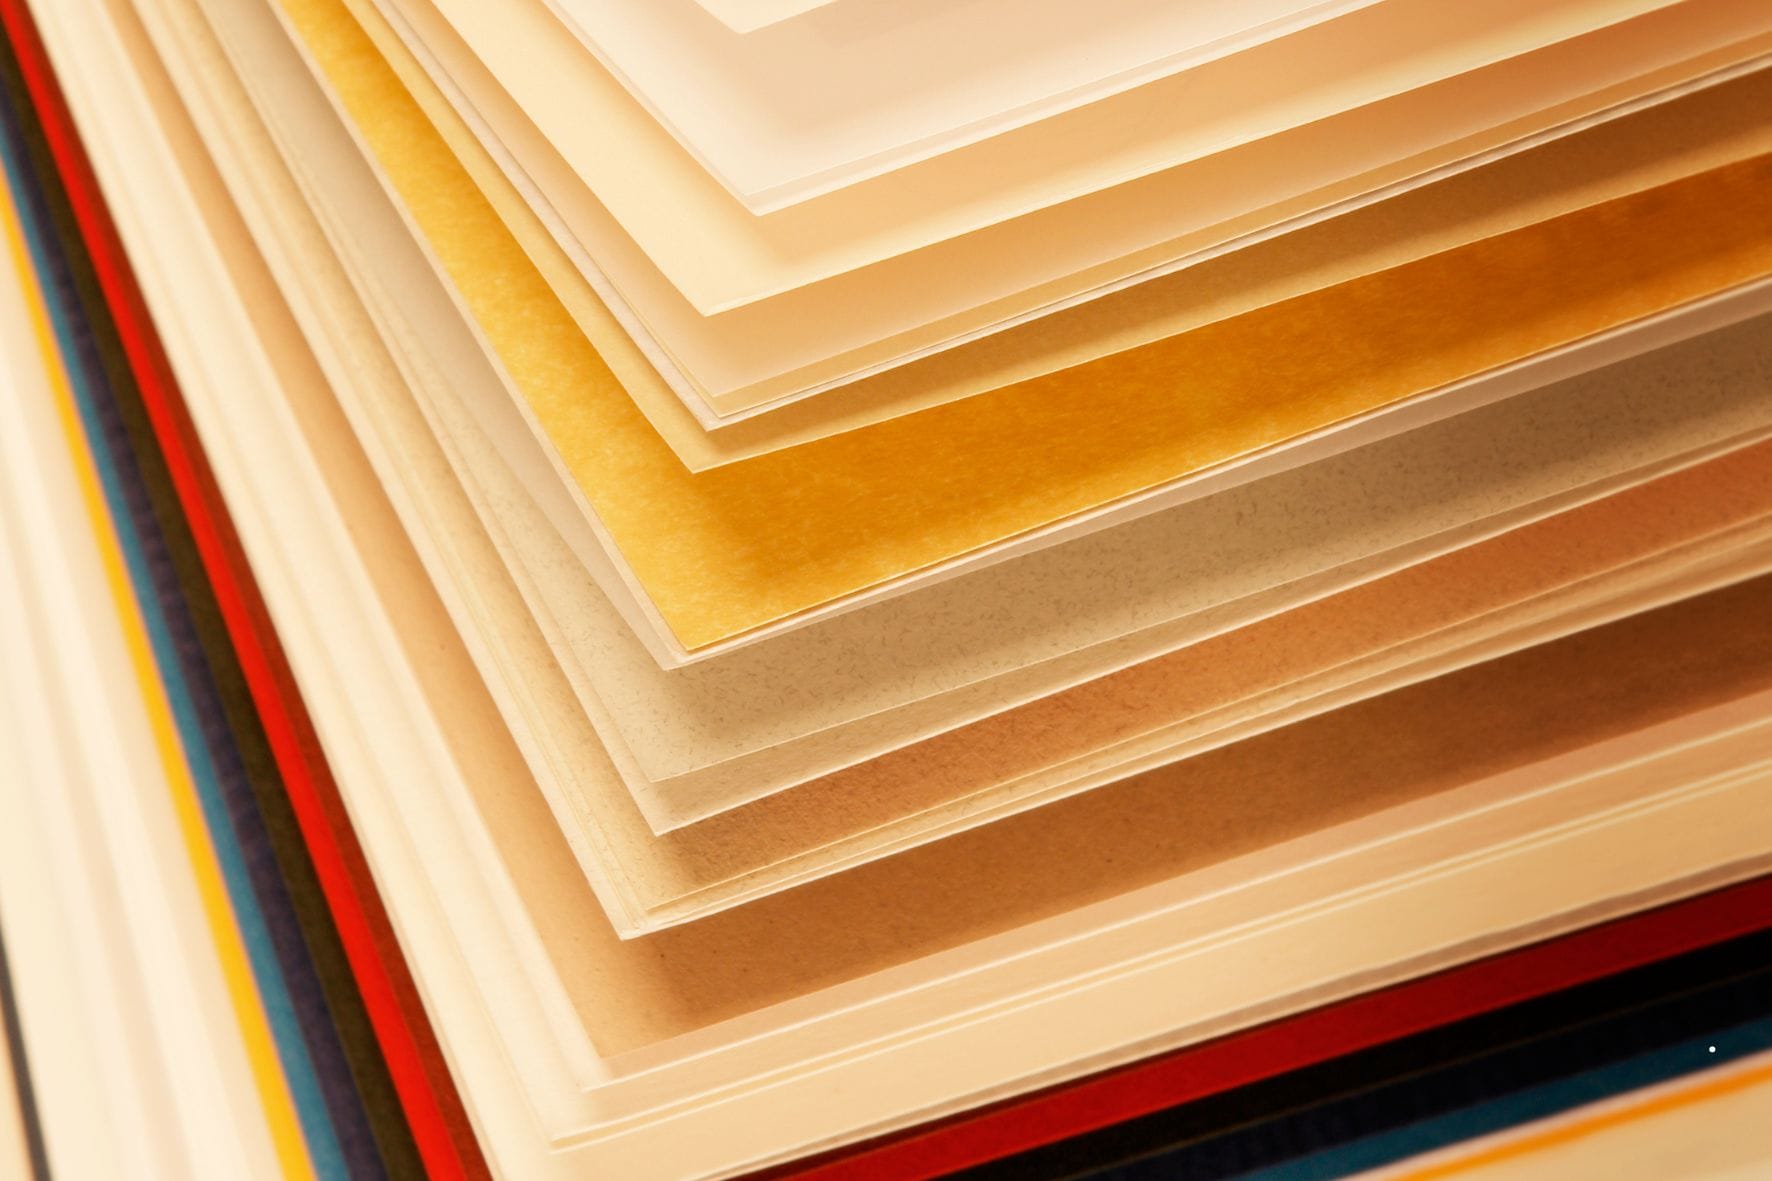
Step 7: Choosing the Right Paper and Print Finish
Once your design is final, the paper and finish you choose can significantly affect the look, feel, and durability of your poster. This final touch plays a big role in creating a good poster that stands out in real-world settings.
Types of Poster Paper
Paper type impacts not only the texture and appearance but also how colours and images show up. Choose based on your budget, usage, and display location.
Matte vs. Glossy
Matte paper offers a non-reflective finish and a more subtle, elegant look, ideal for indoor or minimalistic designs. Glossy paper, on the other hand, makes colours pop and adds shine, perfect for vibrant, high-impact visuals.
Standard vs. Premium
Standard paper works well for short-term use or budget-friendly posters. Premium papers are thicker, more durable, and give a higher-end feel, suitable for professional or long-term displays.
Coatings and Laminations
Coatings can protect your poster and add a visual finish, while lamination enhances durability, especially in high-traffic or outdoor areas.
UV Coating
A high-gloss finish applied to specific areas or the entire poster. It enhances colour vibrancy and adds resistance to scratches and fading, great for attention-grabbing designs.
Aqueous Coating
A water-based coating that adds a soft shine and protects against fingerprints and smudges. It's eco-friendly and ideal for general-purpose posters.
When to use lamination
Lamination is best for posters that need to last longer or be reused. It protects against moisture, tearing, and wear, perfect for menus, signage, or outdoor use.
Step 8: Prepare the File for Printing
Once your poster design is ready, the final step is to prepare your file correctly for printing. This ensures your poster prints clearly, with accurate colours, proper alignment, and no unexpected cropping.
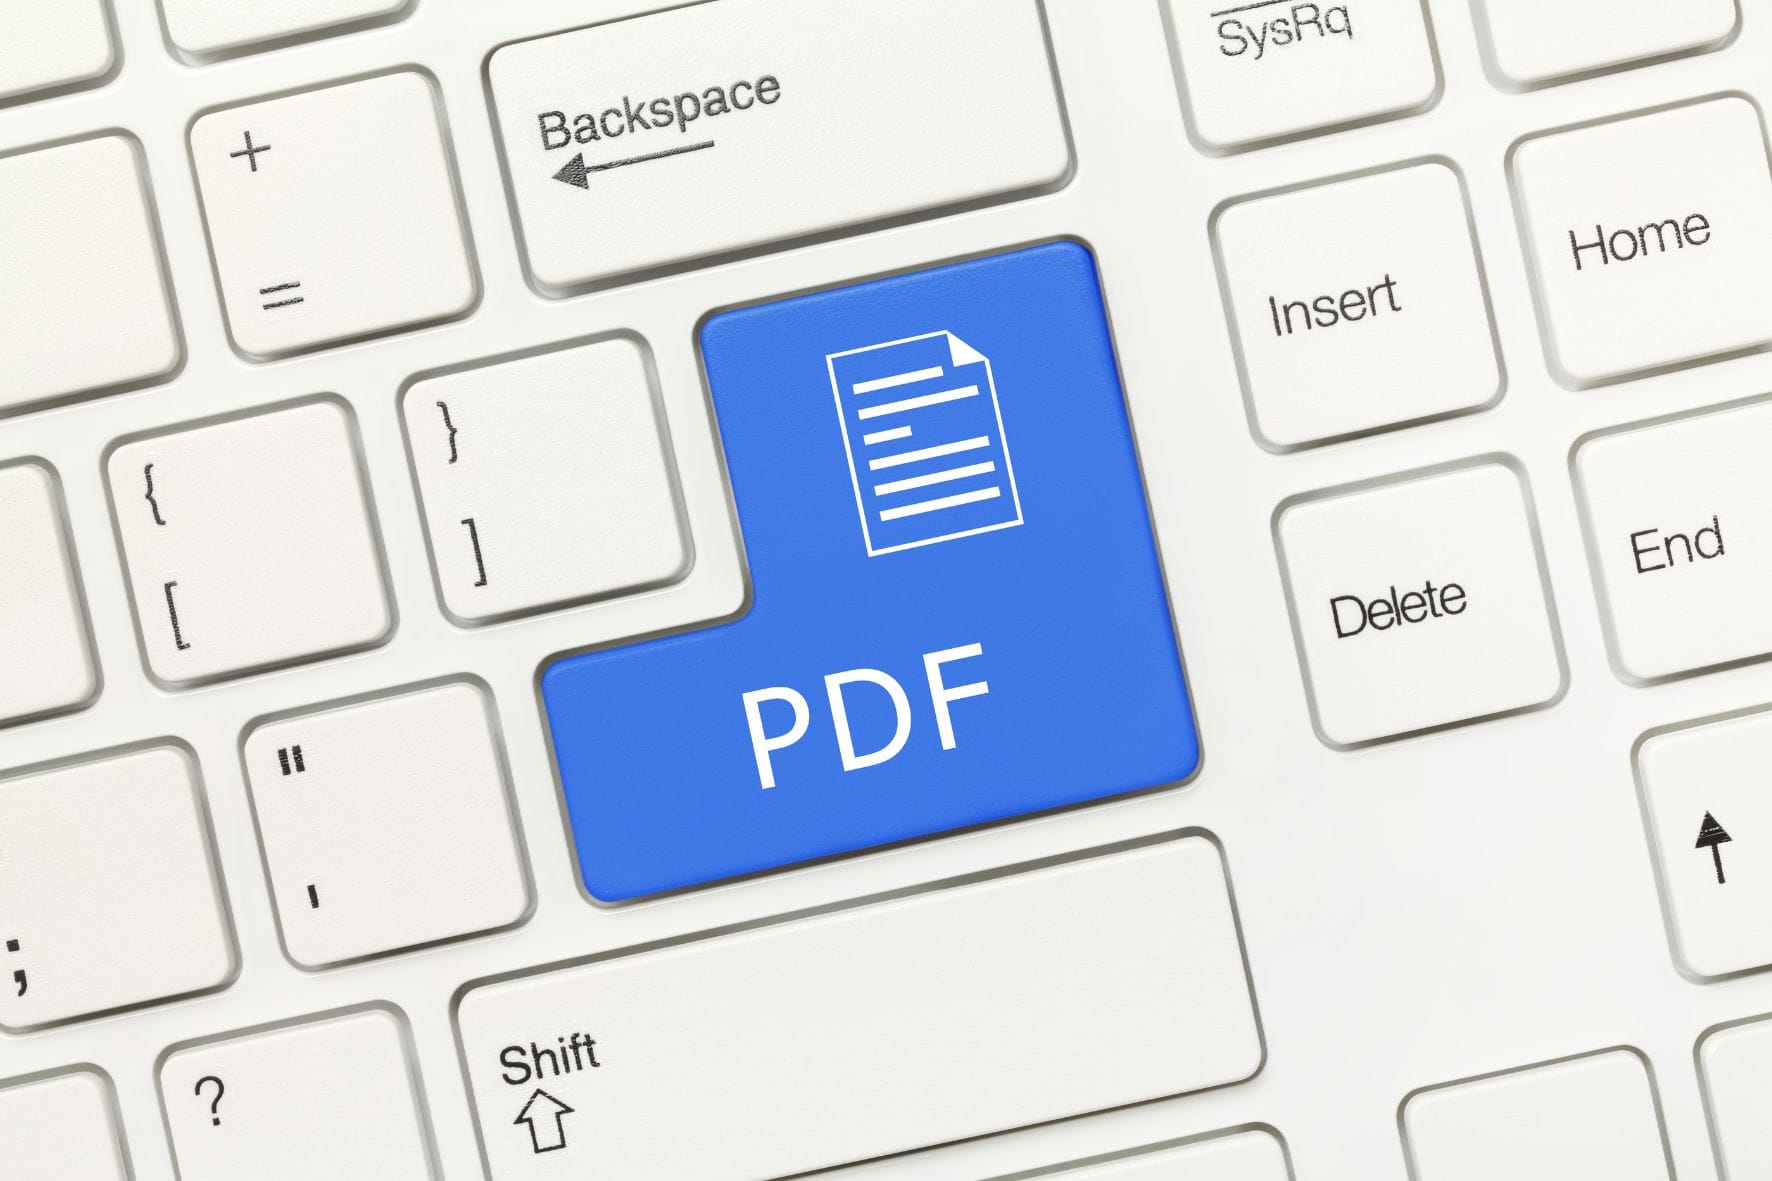
File formats (PDF, TIFF, PNG) – Which is best?
For most print jobs, PDF is the safest and most preferred format as it preserves fonts, layout, and quality. TIFF files are ideal for high-resolution images, especially if your poster is photo-heavy. PNG is better suited for digital previews or web use, not for high-quality print.
Set bleed and margins (usually 3mm)
To avoid any part of your design being accidentally trimmed, include a 3mm bleed area around your artwork. Also, keep key elements, like logos or text, well within the margins to ensure they remain visible and correctly placed after cutting.
CMYK vs RGB – colour settings for print
RGB is designed for screens, but printers work in CMYK. If you don’t convert your file to CMYK before sending it to print, the colours might appear dull or inaccurate. Always check your colour settings to ensure a faithful print result.
Ensure 300 DPI resolution for sharp print quality
Resolution plays a major role in print clarity. A minimum of 300 DPI is required to produce sharp images and clean text. Lower resolutions might look fine on screen but often lead to blurry or pixelated results in print.
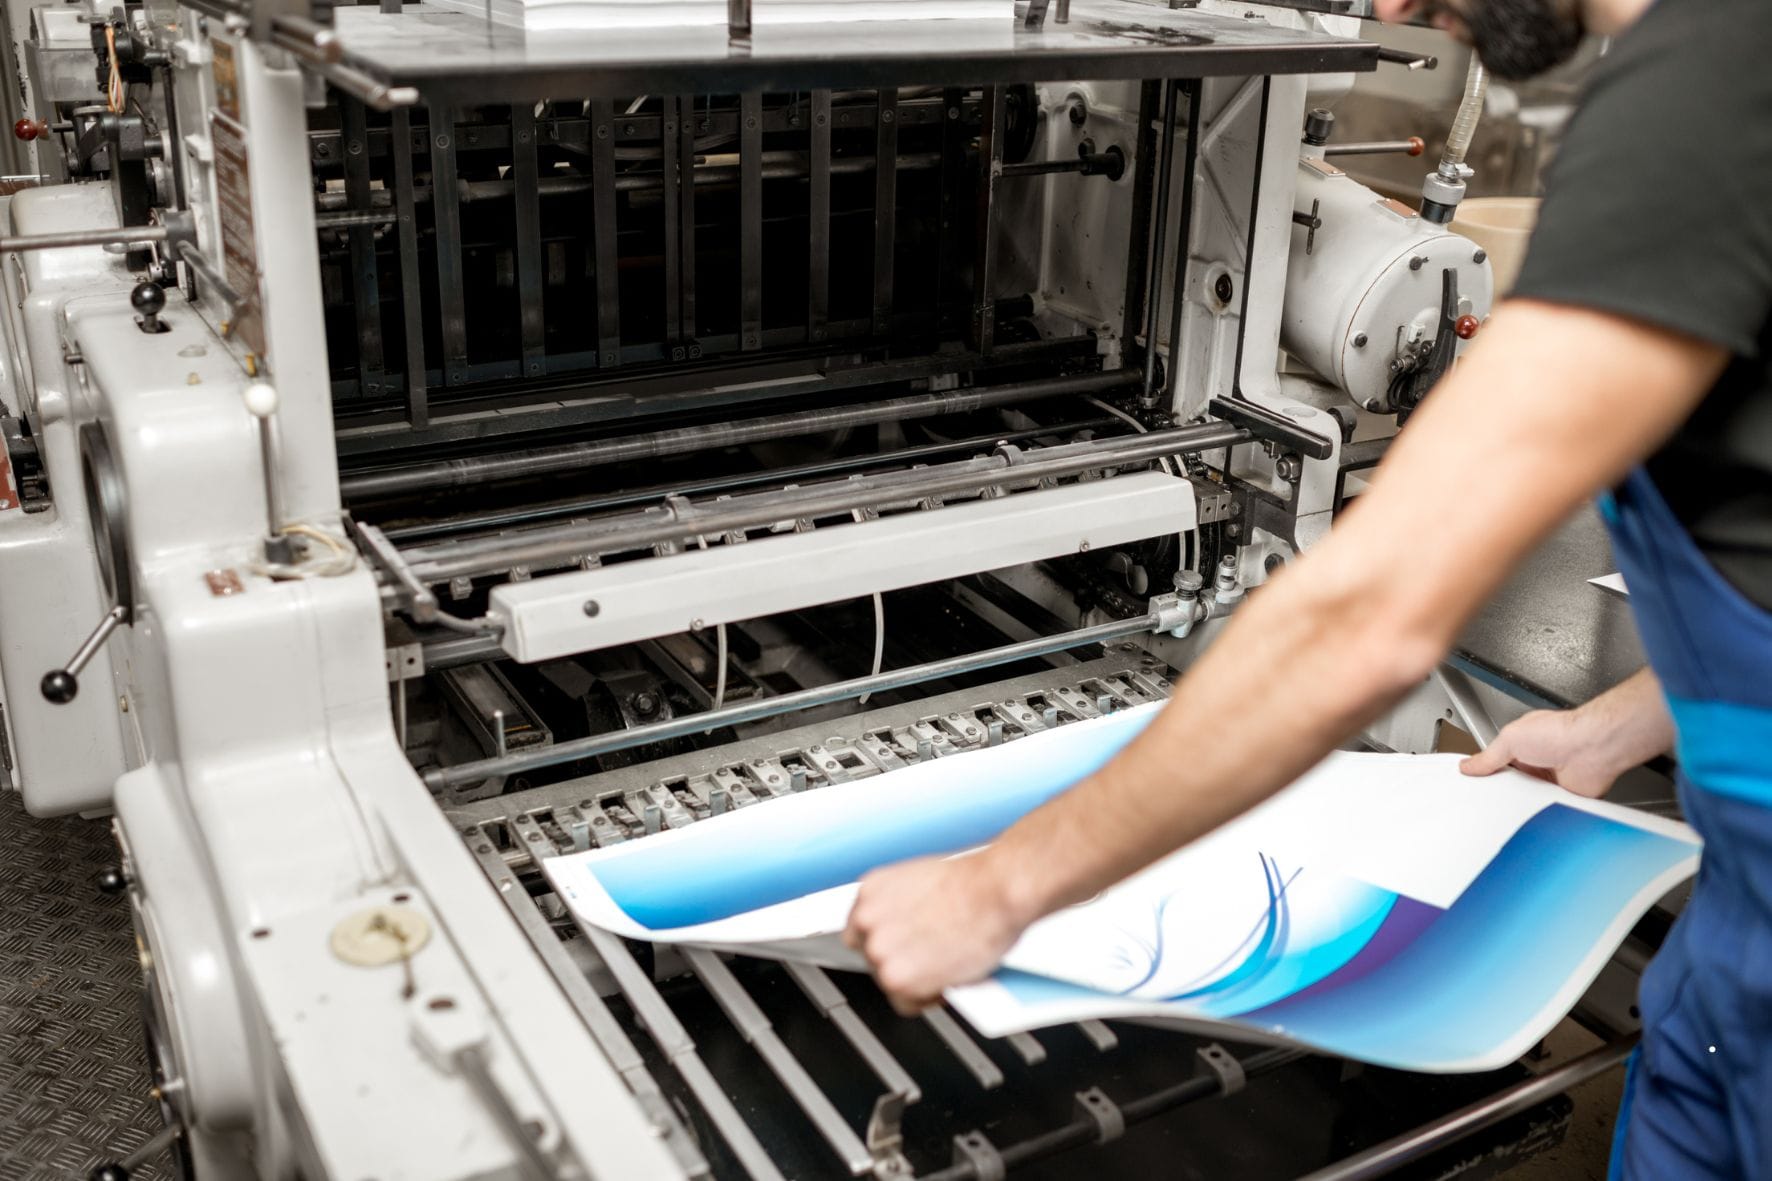
Step 9: Choose a Printing Partner
Finding the right printing partner is essential to ensure your poster turns out exactly as envisioned. Compare services carefully to balance quality, cost, and turnaround time.
Local Print Shops Vs. Online Services
Local print shops offer hands-on support and quicker feedback, but may be costlier or have fewer options.
Online services offer convenience and a wider variety, though proofing and communication can be more limited.
Compare pricing, delivery timelines, and material options
Get quotes from multiple vendors and compare the value they offer. Look into their paper stocks, finishes, and delivery speeds, especially for urgent or bulk orders.
Request a sample print if possible
If you’re printing in large quantities, ask for a sample to check colour accuracy, sharpness, and finish. It’s a simple step that can prevent costly errors later.
Key Questions to Ask Your Poster Printer
1. What kind of printers and ink do you use for posters?
The type of printer and ink impacts the colour quality and overall finish of your poster.
2. Can you match custom colours or do I have to stick to standard options?
Ask if they can replicate brand-specific colours for consistency across your marketing materials.
3. What experience do you have with poster printing specifically?
A printer experienced in posters will better understand sizing, layout, and material needs.
4. What is your policy if I’m not satisfied with the print quality?
Make sure there's a clear policy for refunds or reprints in case the final output doesn’t meet expectations.
5. Can I see samples of your previous poster work?
Reviewing past work helps assess print quality and gives insight into their style and capabilities.
6. Do you provide proof before final printing?
Getting a digital or printed proof lets you catch design or content issues before mass production.
7. What is your typical turnaround time for poster projects?
Knowing their delivery window helps you plan and avoids last-minute delays, especially for events.
Step 10: Review the Proof & Place Your Order
Before sending your poster off for final printing, a thorough review is essential. This step ensures there are no costly mistakes and that the poster looks exactly how you envisioned it. A small oversight now can lead to wasted time, materials, and money, so take your time with the final checks.
Double-check text, grammar, and image quality
Carefully review all the text for spelling, grammar, and punctuation errors. Also, zoom in to check image clarity; blurry or pixelated visuals will stand out on a printed poster and reduce its impact.
Get second opinions from colleagues or peers
A fresh pair of eyes can catch things you might have missed. Ask colleagues or friends to review the design; they might spot inconsistencies or offer suggestions that make the poster more effective.
Ensure everything is aligned and well-spaced
Check that all text boxes, images, and design elements are properly aligned. Uneven spacing or misalignment can make the poster look unprofessional, even if the content is strong.
Check the proof sent by the printer before final approval
Always request a digital or physical proof from your printer. This preview lets you see how colours, layout, and text will appear in the final version, giving you one last chance to make changes.
Make any corrections before the full run
If anything looks off in the proof, fix it immediately, don’t wait until after printing. Whether it’s a small typo or a layout shift, making corrections now avoids waste and disappointment later.
Approve and proceed to print
Once you're completely satisfied with the proof, give your final approval and place the order. Now you can look forward to receiving a professionally printed poster that’s ready to shine.
Tips for Displaying Your Poster
Once your poster is printed, how and where you display it matters just as much as the design. A well-placed and well-presented poster boosts visibility and overall impact.
Framing vs. Pinning: Choose the Right Display Method
How you mount your poster depends on its purpose and location. Choose a method that enhances both presentation and longevity.
When to use a professional frame: Framing adds a polished, high-end touch that suits offices, exhibitions, or formal venues. It also protects the poster from damage and wear over time.
When pinning or taping works better: For quick setups in casual environments like schools or cafés, pinning or taping is easy, cost-effective, and allows quick replacement.
Impact on durability and aesthetics: Framed posters last longer and look more refined. In contrast, unframed posters may be more vulnerable to creasing or tearing but work well for short-term use.
Display Tools: Stands, Adhesive Strips, and Clips
Choosing the right tools for display can improve visibility and make setup simpler while keeping your walls and posters safe.
Benefits of using poster stands at events or retail locations: Stands are portable and ideal for high-footfall areas like trade shows or store entrances. They offer height and mobility without needing wall space.
Damage-free adhesive strips for walls: Adhesive strips are great for temporary displays. They hold posters securely without leaving marks or damaging paint when removed.
Binder clips and rails for reusable or rotating posters: These tools are perfect for changing posters frequently. They reduce wear and allow quick swaps while keeping the design neatly displayed.
Lighting and Placement Tips for Maximum Visibility
Proper lighting and placement help your poster catch attention and be easily readable in any environment.
Position posters at eye level for easy viewing: Place posters around 5 to 6 feet from the ground so people can view them comfortably without straining.
Use directional lighting to highlight key content: Lighting from above or the side can help draw attention to specific parts of the poster, such as the headline or CTA.
Avoid glare or shadows on glossy prints: Glossy finishes can reflect light, making text hard to read. Position lighting carefully to reduce glare and ensure readability.
Place in high-traffic areas to increase reach and impact: Locations like entrances, hallways, or near checkouts are ideal for visibility. The more people pass by, the greater your poster’s exposure.
Creative Poster Design Ideas Based on Purpose
Every poster tells a story, and how you design it should depend on what story you’re trying to tell. Whether it's to inform, persuade, or inspire, emotional impact and visual storytelling play a key role in making your poster memorable.
Posters for Events
Event posters need to grab attention quickly and convey key details at a glance. Use bold visuals, vibrant colours, and striking typography to build excitement and urgency.
Concerts, conferences, workshops: Highlight the event name and date prominently. Include key speakers or performers, and use visuals that match the event’s theme or energy. QR codes are useful for quick access to tickets or registration.
Posters for Businesses and Promotions
Business posters should reflect your brand while promoting a clear offer or message. Keep it focused, with a strong call to action to drive results.
Product launches, seasonal offers: Use high-quality product images, bold discount tags, and compelling CTAs. Stay on-brand with colours and fonts, and design for quick scanning to catch attention even in busy retail spaces.
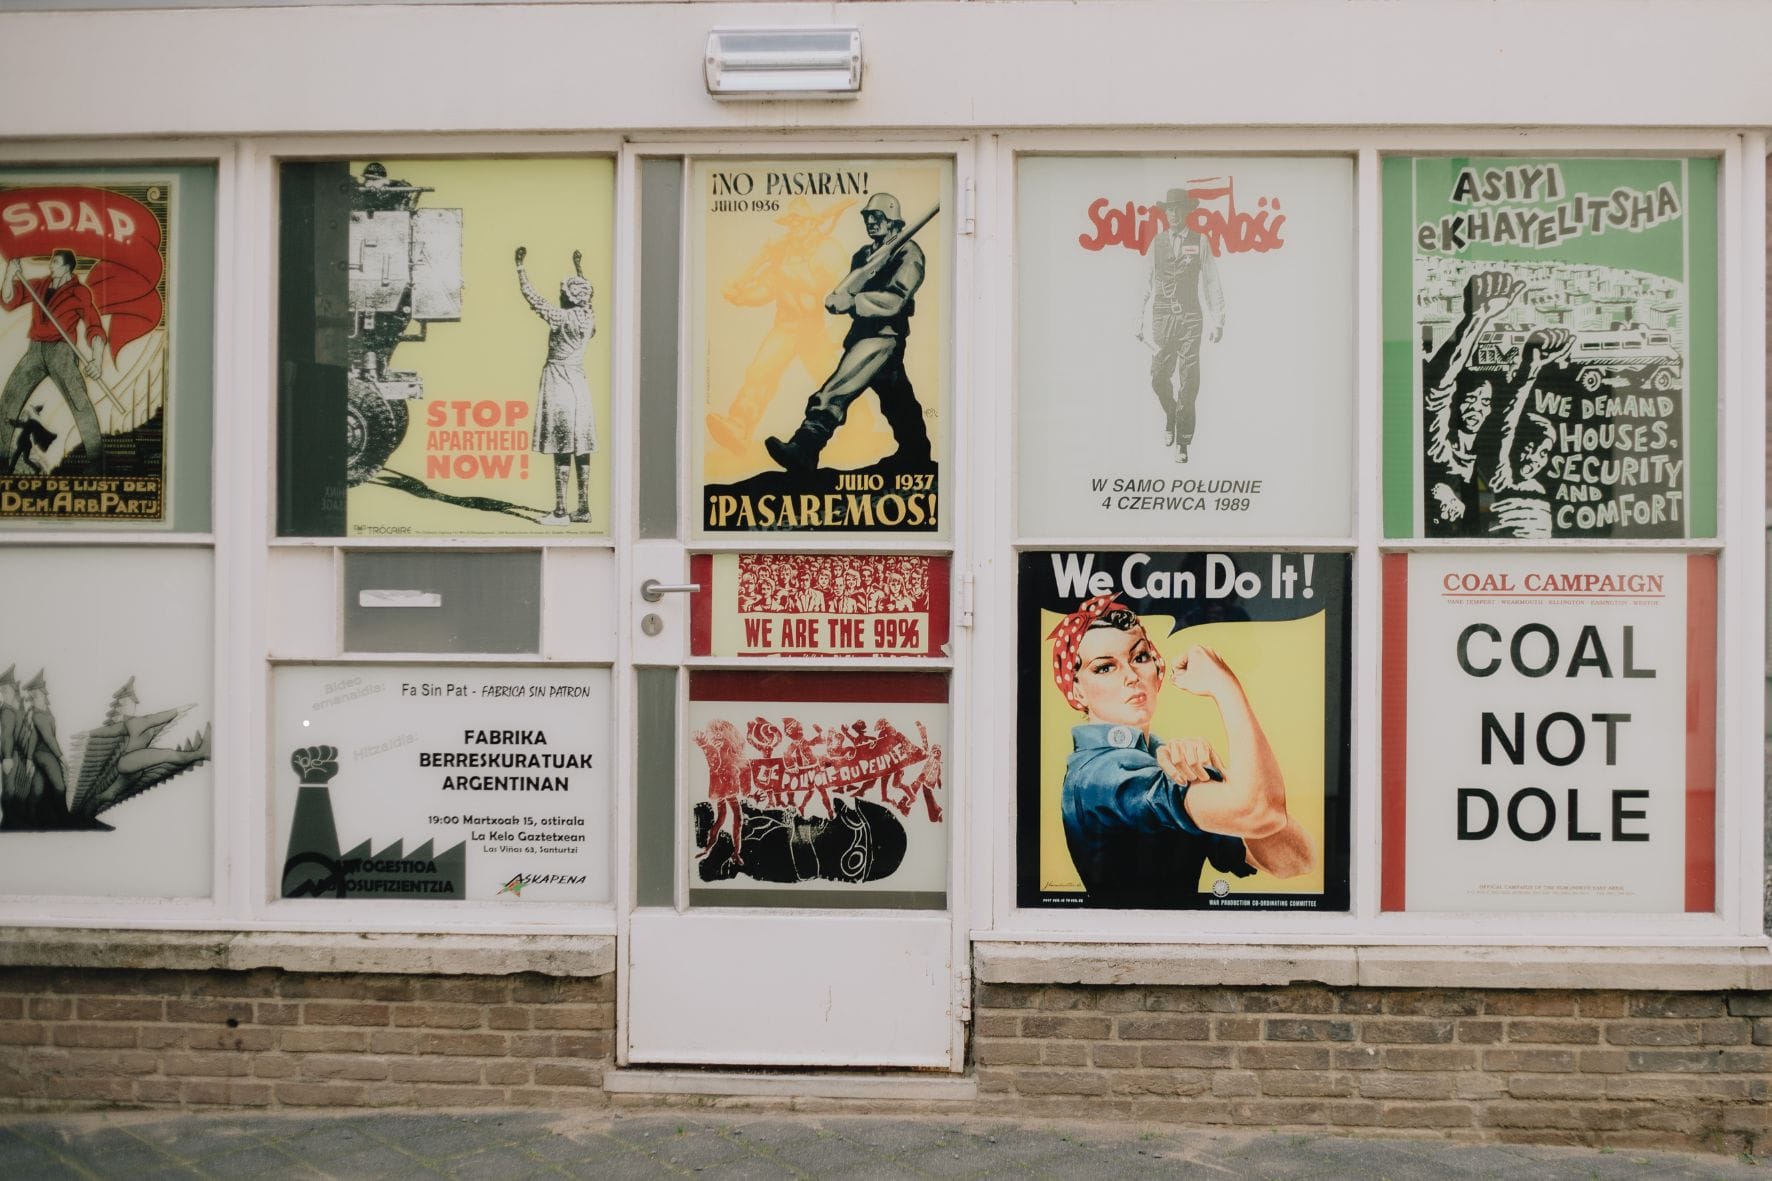
Posters for Awareness Campaigns
These posters aim to inform and evoke emotion. A powerful image or statistic paired with a simple, strong message can make all the difference.
Social causes, educational messages: Use impactful imagery and minimal text to deliver a thought-provoking message. Maintain visual clarity while appealing to empathy or urgency, especially when promoting behaviour change or community action.
Conclusion
Creating a poster is more than just placing text and images on a page; it’s about communicating a message, creatively and effectively. From defining your purpose to selecting the right layout, fonts, colours, and print finishes, each step plays a vital role in how your poster is received. Taking the time to review details, align elements, and choose the right display method ensures your final piece is both eye-catching and impactful.
With so many user-friendly design tools and reliable custom printing platforms available today, bringing your poster idea to life has never been easier. Whether it’s for an event, promotion, or awareness campaign, you now have the knowledge on how to prepare a poster that stands out. So go ahead, put your design skills to work and print with confidence, knowing your message is ready to be seen and remembered.
Image Credits:
Some images used in this blog are sourced from external websites. All image rights belong to their respective owners.
Get personalised Company-branded products with your Business Name & Logo
Enter your Email to learn more!
PrintStop Content Team
The PrintStop Content Team is dedicated to creating clear, practical, and engaging resources that help businesses make informed decisions. Specialising in customised products, corporate printing solutions, and business gifting, the team translates PrintStop’s offerings into useful guides, product insights, and industry-relevant content. With a strong focus on detail and quality, our work ensures that professionals and organisations can easily understand and leverage PrintStop’s services to meet their needs.